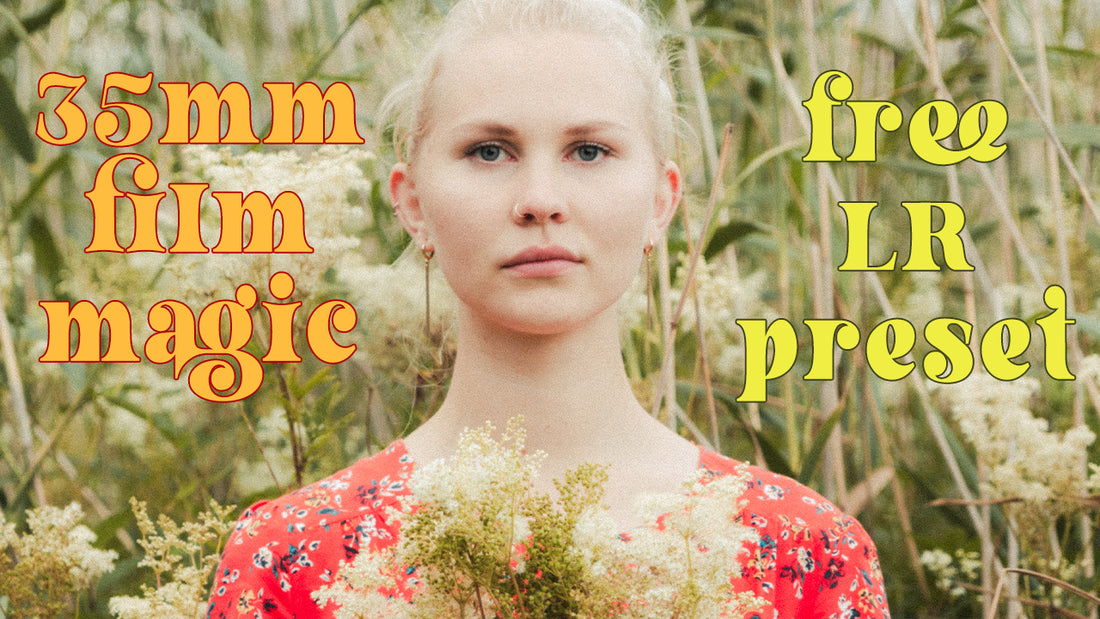
Get the Film Look on Photos in Lightroom
Share
How to Get the Film Look on Photos in Lightroom: A Step-by-Step Guide
Achieving a film look in your digital photos has become increasingly popular, bringing a nostalgic and timeless vibe to your images. The film look is characterized by unique color tones, soft grain, and a natural feel that adds depth to your photos. In this guide, I’ll show you how to transform your digital images into vintage-style film photos using Adobe Lightroom.
What Makes the Film Look?
Before diving into the steps, let's quickly go over what makes up the classic film look:
- Soft Contrast: Film often has lower contrast compared to digital images, giving it a softer and more natural appearance.
- Muted Colors: Film colors are typically less saturated and often have a slight color shift (such as warmer tones or cool blues).
- Grain Texture: Unlike the sharpness of digital images, film has a natural, subtle grain that adds a tactile quality to photos.
- Highlight and Shadow Details: Film tends to have better highlight retention, while shadows are softer and less harsh.
- Faded Blacks and Toned Highlights: The blacks in film are often not pitch black but slightly faded, while the highlights can have a unique color tone.
Step-by-Step Guide to Achieving the Film Look in Lightroom
1. Start with the Basics: Exposure and White Balance
- Exposure: Adjust the exposure to ensure your image has a balanced light. You want a good base before diving into the film effects.
- White Balance: For a classic film look, slightly warm up the temperature to create that nostalgic vibe. Set your white balance to lean towards warmer tones or cooler ones depending on the type of film you want to emulate (e.g., Kodak Portra has warm tones, while Fuji has cooler greens and blues).
2. Tone Curve Adjustments: Create the Matte Look
The tone curve is one of the most powerful tools for creating the film look.
-
Start with the RGB Curve:
- Add three points on the tone curve — one in the shadows, one in the mid-tones, and one in the highlights.
- Lift the Shadows: Click on the bottom-left point of the curve (the shadow area) and gently drag it up. This will create that faded, matte look in the blacks.
- Lower the Highlights: Drag the upper-right point (highlights) slightly down to soften the bright areas of the image.
- Individual Color Curves (Red, Green, Blue): Slightly adjust each curve to introduce subtle color shifts, characteristic of film. For instance, increase reds in the shadows and greens in the highlights to get that classic look.
3. Reduce Clarity and Contrast
- Clarity: Decrease the clarity slightly to give your image a softer and more organic feel.
- Contrast: Lower the contrast to mimic the softer look of film. This step helps reduce the harshness of highlights and shadows.
4. Color Grading: Adding Vintage Tones
Use the Color Grading tool (previously known as Split Toning) to give your image that distinctive film color grade.
- Shadows: Add warm tones to the shadows (such as dark orange or red) to mimic the aged look.
- Highlights: Use cooler tones like teal or blue in the highlights to create balance and depth.
- Midtones: Experiment with subtle colors in the midtones to enhance the overall mood of the photo.
5. Adjust HSL (Hue, Saturation, Luminance) for a Film-Like Palette
- Desaturate Colors: Slightly desaturate the reds, greens, and blues to mute the colors and bring them closer to the more natural, pastel hues seen in film.
- Hue Adjustments: Shift the hues of specific colors to match the film look, like moving greens towards yellow or blues towards teal.
- Luminance: Lower the luminance of certain colors (like reds and yellows) to give your image a more moody and vintage appearance.
6. Add Grain for Texture
Grain is essential for creating that authentic film look.
- Grain Amount: Increase the Grain amount in the Effects panel to add texture to your image.
- Size and Roughness: Adjust the size and roughness sliders to control how fine or coarse the grain appears.
7. Sharpening and Noise Reduction
- Sharpening: Reduce the overall sharpness slightly to soften the details, mimicking the look of film.
- Noise Reduction: Apply just a touch of noise reduction to avoid any digital artifacts while maintaining the grain.
Additional Tips for the Film Look
- Vignette: Add a subtle vignette to focus attention on the subject and enhance the vintage feel.
- Presets: Consider using Lightroom presets designed for film photography as a starting point, and then fine-tune the settings to match your desired look.
- Experiment with Different Styles: Try out different film styles like Kodak Portra or Fuji Pro 400H to find what suits your aesthetic.
Final Thoughts
Creating the film look in Lightroom is all about balancing subtle adjustments to color, contrast, and texture. The goal is to emulate the mood, character, and imperfections of classic film photography while keeping it natural and cohesive. With practice and experimentation, you can develop a signature film style that adds a timeless touch to your digital photos.
Happy editing, and may your images carry that unmistakable charm of film!
Download FREE Film Preset HERE!
While you're at it, why not check out a few tips on 'How to Take More Interesting Landscape Photos'

